This kit consists of 7 pieces (2 tools and 5 rubber strings) allowing you to fix the most common punctures: those in “thread zone” of the tire with holes (slits) up to ¼”.
1. Using the pliers of the Multi‐Tool (included with your roadside kit) proceed to remove the object that caused the puncture. Use the Rasp tool (Reamer) into the hole, sliding up and down (4 to 6 strokes) to roughen and clean the inside of the hole (Fig. 1). Be certain to follow the same direction of the slit to avoid a faulty repair as the tire can leak.
2. Remove rubber string (repair plug) from the protective backing material and insert it into the eye of the needle tool. Thread the repair string halfway into the eye-opening of the needle insertion tool until equal parts are either side of the tool (Fig. 2).

3. Insert the needle tool with repair plug into the hole until the plug is pushed in approximately 2/3 of the way. Pull the needle tool straight out, without twisting, in a rapid motion. (Fig. 3). Be certain that the rubber strip has passed thru the tire and stays inserted to prevent slipping during inflation.
4. Using the knife of the Multi‐tool, cut the excess of the plug material flush with the thread of the tire. (Fig. 4).
5. Using the Air Compressor included with your roadside assistance kit or the Digital Small Compressor Kit, proceed to inflate the tire to manufacturer’s recommended pressure and check for leaks.
6. Install the tire as per the car’s owner’s manual. Now you’re ready to get back on the road!
CAUTION:
1‐ Do not repair tires with punctures (slits) greater than ¼”. Contact a professional first.
2‐ Do not try to repair any sidewall puncture.
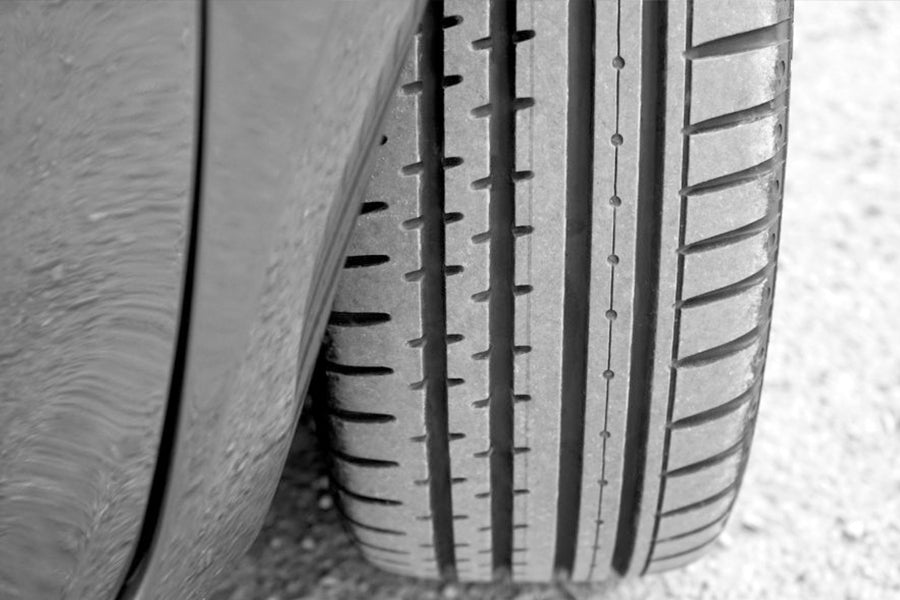
3‐ Only use this kit to repair punctures located in the thread area of the tire.